Adding Pictures
Photos can be uploaded to a profile from the field or from the office. Using the App or the browser on a computer, pictures provide documentation of equipment, condition of a pool, and before and/or after pictures of services performed.
Adding a Picture from the Computer/Browser
- Open a customer profile and create a Note

- You can leave the Private Notes section blank or add text then select Save Note
- On the next page,the left side of the page click the blue box Choose File
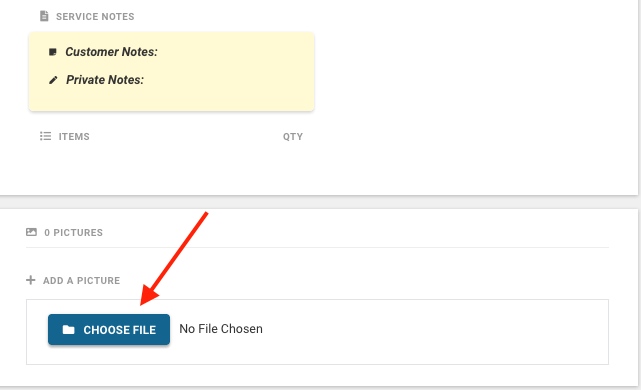
- Locate the picture, opt to add a description, Upload.
Pictures are automatically sent with reports unless 'private' is selected.
To have all pictures automatically private go to > Settings, > Edit Company, > Visual Cues (at top of page) , check box > Automatically set photos to private by default > Submit.
Pinned - Pinning a photo keeps the photo pinned to the top of the pictures tab when viewing a customer profile. This is helpful for equipment pad pics, locations of auto cover keypads, and other pictures you will likely reference more frequently.
- All uploaded pictures can be seen on the 'Pictures' tab in a customer profile.

Troubleshooting photo uploads
- Upload from gallery failing: update the app to the latest version first, then check that the phone's permission settings allow POM full access to Photos.
- Large photos: very large images can time out on cellular. Retry on WiFi.
- Only one technician affected: compare their app version to everyone else's. Version mismatches are the usual cause.
- Photos upload but don't appear in emailed service reports: that is a different issue than profile uploads. If you can see photos in the browser but not in the emailed report, contact support (help@poolofficemanager.com) with the customer and report date.